
A photorealistic exterior house rendering is defined by physically accurate lighting simulation, high-resolution PBR (physically based rendering) materials, correct lens optics, and post-production color grading working together as one system, not as isolated design choices. A “good” rendering may look clean and presentable, but it typically skips one or more of these technical layers, which is exactly why it reads as CGI rather than a real photograph. Understanding what makes a photorealistic exterior house rendering different from a merely good one comes down to how closely each stage of production mimics real-world camera and light physics.
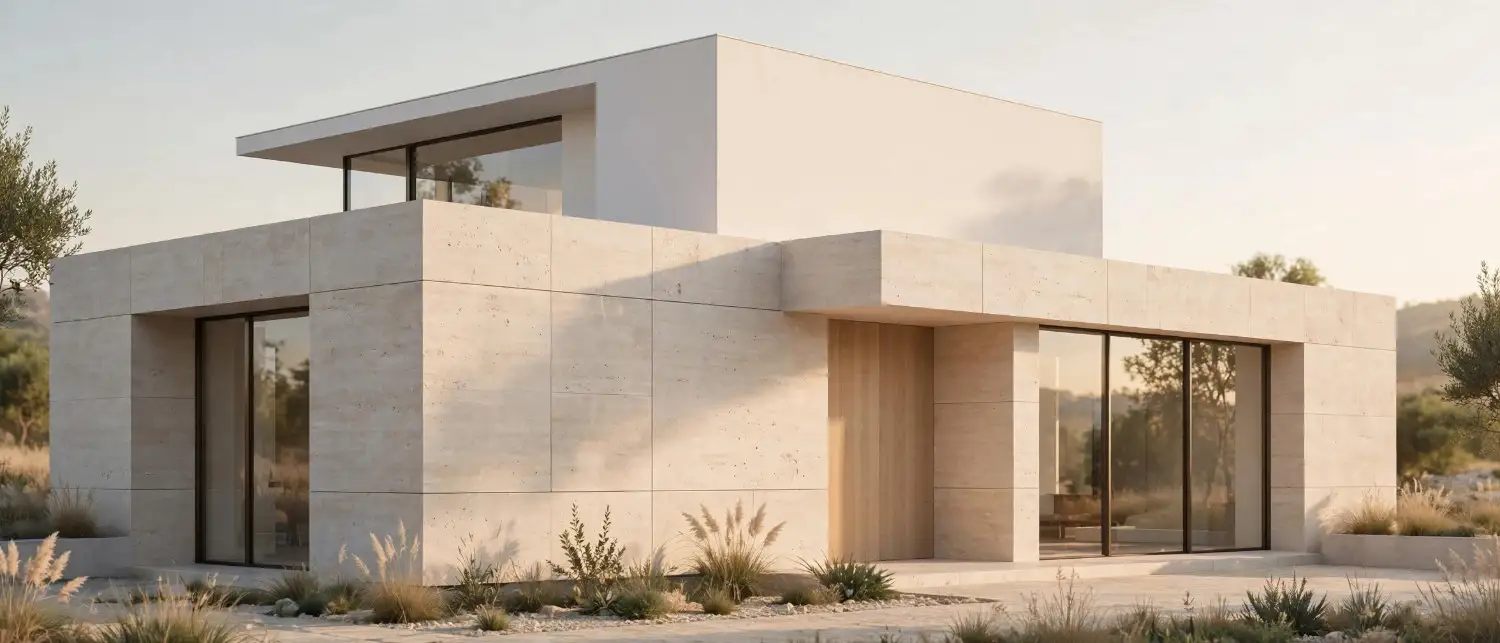
This distinction matters more than most architects, builders, and real estate marketers realize. A house rendering that looks “good enough” on a laptop screen often falls apart the moment it is printed on a hoarding, used in a brochure, or zoomed into on a client’s phone. That is where a specialized 3D exterior house rendering company earns its value: not by producing pretty pictures, but by engineering every technical layer, lighting, materials, optics, and post-production, so the final image survives close scrutiny. In this article, we break down exactly what separates a good house rendering from a genuinely photorealistic one, layer by layer, so you know precisely what to look for before commissioning your next project.
What Makes a Photorealistic Exterior House Rendering? (Quick Definition)
In simple terms, a photorealistic exterior house rendering is a 3D visualization built with real-world physics in mind, accurate light behavior, true-to-life material response, correct camera geometry, and natural imperfections, so that the final image is difficult to distinguish from an actual photograph of a built structure.
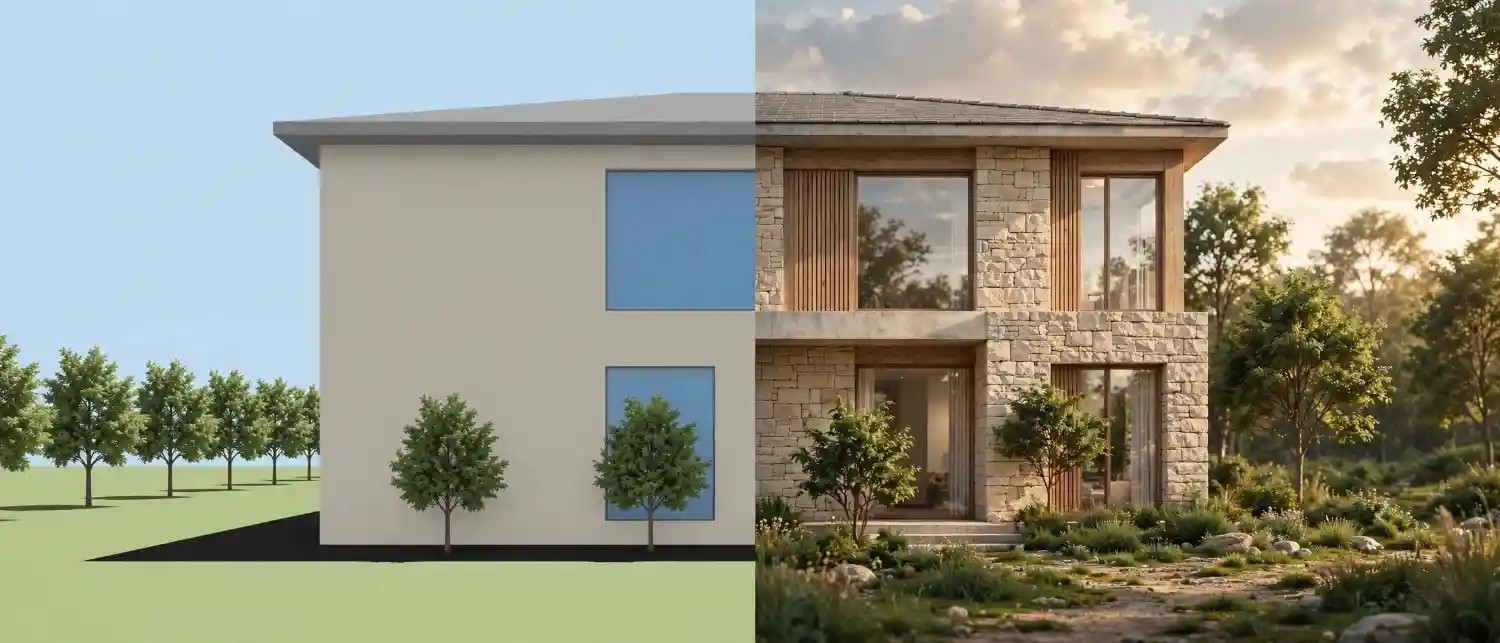
A house rendering earns the label “photorealistic” only when it passes what artists often call the 5-second test: if a viewer needs more than five seconds to consciously register that the image is computer-generated, the house rendering has succeeded. Anything that gets flagged instantly, whether due to flat lighting, plastic-looking glass, or an unnatural sky, falls into the “good but not photorealistic” category.
Good vs Photorealistic Renderings: The Core Differences
Before diving into the technical mechanics, it helps to see the two categories side by side. The table below summarizes where most renderings fall short of true photorealism.
| Factor | Good Rendering | Photorealistic Rendering |
|---|---|---|
| Lighting | Single light source, flat shadows | Global illumination with bounced, indirect light |
| Materials | Basic color + texture map | Full PBR setup (albedo, roughness, normal, displacement) |
| Glass & Reflections | Fully transparent or mirror-like | Fresnel-accurate reflectivity that shifts with viewing angle |
| Vegetation | Repetitive, flat 2D cutouts | Randomized 3D foliage with natural variation |
| Sky & Atmosphere | Stock HDRI dropped in without matching | HDRI matched to sun angle, season, and location |
| Camera Optics | Straight-line render, no lens behavior | Simulated focal length, depth of field, chromatic aberration |
| Post-Production | Minimal or no color correction | Full grading pass: exposure, contrast, noise, vignette |
| Human Perception Time | Recognized as CGI instantly | Passes the 5-second test |
Consequently, the gap between the two isn’t about talent alone, it’s about how many of these technical layers are actually being executed with discipline on every single project
The Technical Elements Behind Photorealism
Now, let’s unpack each of these layers individually, since this is where the real answer to “what makes a photorealistic exterior rendering” lives.
Lighting and Global Illumination

Lighting is, without question, the single biggest differentiator between good and photorealistic house renderings. Real-world light doesn’t just hit a surface and stop; it bounces off walls, scatters through leaves, and picks up color as it travels.
- Global Illumination (GI): Simulates indirect light bounce so shadows aren’t pure black, they carry reflected color and softness from nearby surfaces.
- Sun positioning: Photorealistic studios calculate the exact sun angle for the property’s real geographic coordinates and time of day, rather than using a default studio light.
- Ambient occlusion: Adds subtle contact shadows where two surfaces meet, a detail the human eye notices even if it can’t name it.
- HDRI-based sky lighting: Instead of a flat color sky, an HDRI (High Dynamic Range Image) is used so the exterior surfaces reflect a genuinely accurate sky and horizon.
Without accurate GI, even a house rendering with expensive materials will look synthetic, because the eye is trained by a lifetime of real-world observation to expect soft, bounced shadows.
Material Accuracy and Texture Mapping

The second-biggest giveaway of a non-photorealistic render is material behavior. This is where PBR (Physically Based Rendering) materials come in, and they require several data layers working in tandem:
- Albedo map – the base color of the material, without any lighting baked in.
- Roughness map – defines how sharp or diffused a surface’s reflections appear.
- Normal map – fakes small surface bumps (brick grout, stucco texture) without adding extra geometry.
- Displacement map – physically pushes geometry to create real depth on rougher surfaces like stone cladding.
- Metallic map – tells the renderer which parts of a surface should behave like metal versus dielectric material.
A good house rendering often uses only a color and maybe a normal map. A photorealistic one uses the full PBR stack, so brick genuinely looks porous, glass genuinely refracts, and metal roofing genuinely catches specular highlights the way it would under real sunlight.
Camera Angle, Lens Simulation and Composition

Photorealism isn’t only about materials and light, it’s also about how the camera “sees” the scene. Real cameras have optical imperfections that our brains subconsciously associate with authenticity.
- Focal length simulation: A wide-angle lens introduces natural perspective distortion at the edges of the frame; a telephoto compresses depth. Matching the right focal length to the architecture’s scale is essential.
- Depth of field: A slight blur on foreground or background elements mimics how a real camera aperture behaves, drawing the eye to the subject.
- Chromatic aberration and lens vignetting: Extremely subtle color fringing at high-contrast edges and slight corner darkening, both present in real photography, are often added intentionally in the final render pass.
- Rule-of-thirds composition: Beyond technical accuracy, photorealistic studios frame the shot the way a real architectural photographer would, not simply from the “default” camera position in the 3D software.
Environmental Context and Landscaping

An exterior house rendering doesn’t exist in isolation, it exists within a site. This is one of the most overlooked factors when clients ask what makes a photorealistic exterior house rendering convincing.
- Vegetation should show natural asymmetry: no two trees or shrubs should be identical copies.
- Ground textures (grass, gravel, pavement) need micro-variation instead of a single repeating tile.
- Contextual elements, parked cars, pedestrians, street furniture, add scale reference and life to the scene.
- Weather-appropriate skies (overcast versus golden hour) should match the mood the client wants to communicate.
Post-Production and Color Grading

Even a technically flawless 3D render benefits from a final compositing pass, exactly as real architectural photography does.
- Exposure and contrast balancing to match how a real camera sensor would capture the dynamic range of a bright sky against a shaded building face.
- Color grading to establish mood, warm tones for a cozy residential feel, cooler tones for a modern commercial look.
- Noise/grain addition in small amounts, since a perfectly noise-free image can paradoxically look “too clean” and synthetic.
- Selective sharpening on focal elements like the entrance or facade detailing.
Step-by-Step: How Photorealistic Renderings Are Produced
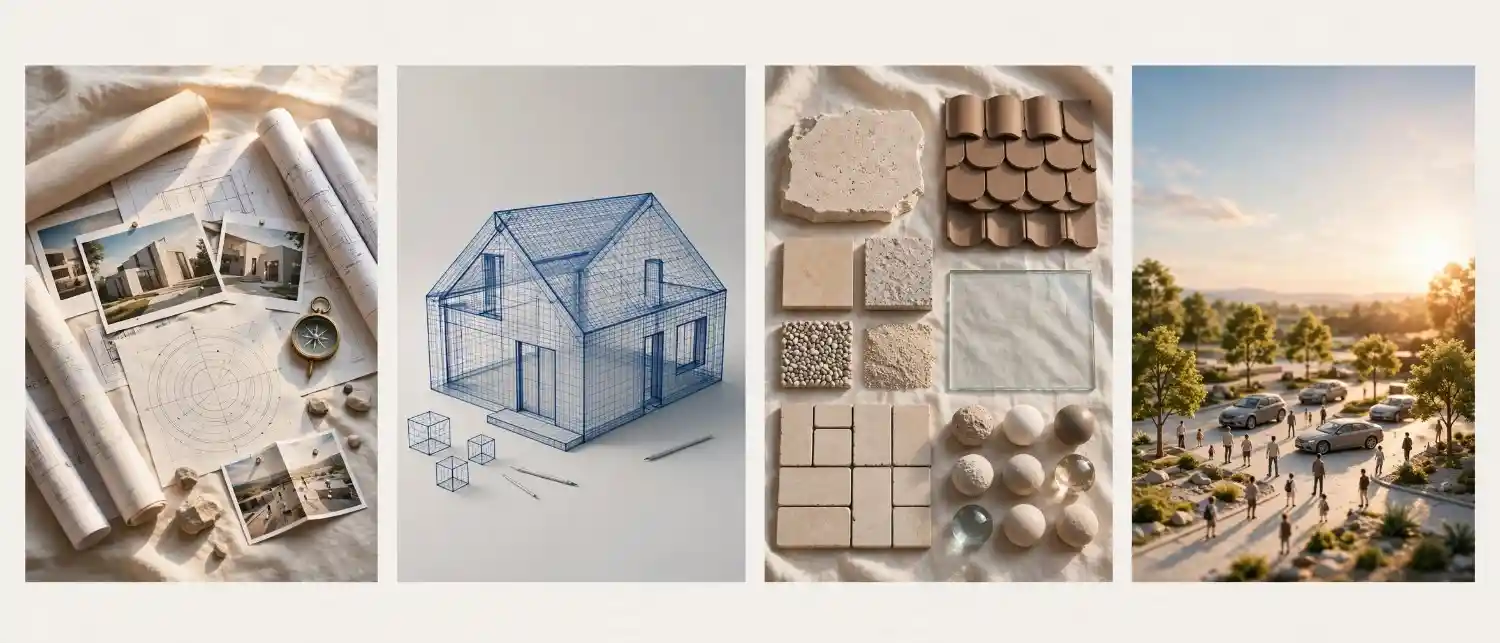
For those curious about the actual production pipeline, here is the general workflow most professional studios, including VHAGE, follow to move a project from concept to photorealistic delivery.
- Reference and site data collection – Gather architectural drawings, site photos, geographic coordinates, and sun-path data.
- 3D modeling – Build accurate geometry for the structure, matching every dimension from the architectural plans.
- Material and texture assignment – Apply the full PBR material stack to every surface, walls, roofing, glazing, and hardscaping.
- Lighting setup – Configure sun position, HDRI sky, and any supplementary artificial lighting for dusk or night scenes.
- Landscaping and entourage placement – Add trees, vehicles, and human figures with natural variation and correct scale.
- Camera framing – Select focal length, height, and composition to match the intended use (marketing, permitting, or presentation).
- Rendering pass – Run the render engine (V-Ray, Corona, or Lumion, for example) at production resolution.
- Post-production compositing – Apply color grading, noise, and final retouching in Photoshop or a similar tool.
- Client review and revisions – Refine based on feedback before final delivery.
Skipping or rushing any single step in this sequence is usually why a rendering ends up “good” instead of photorealistic.
Common Mistakes That Keep a Rendering From Looking Photorealistic
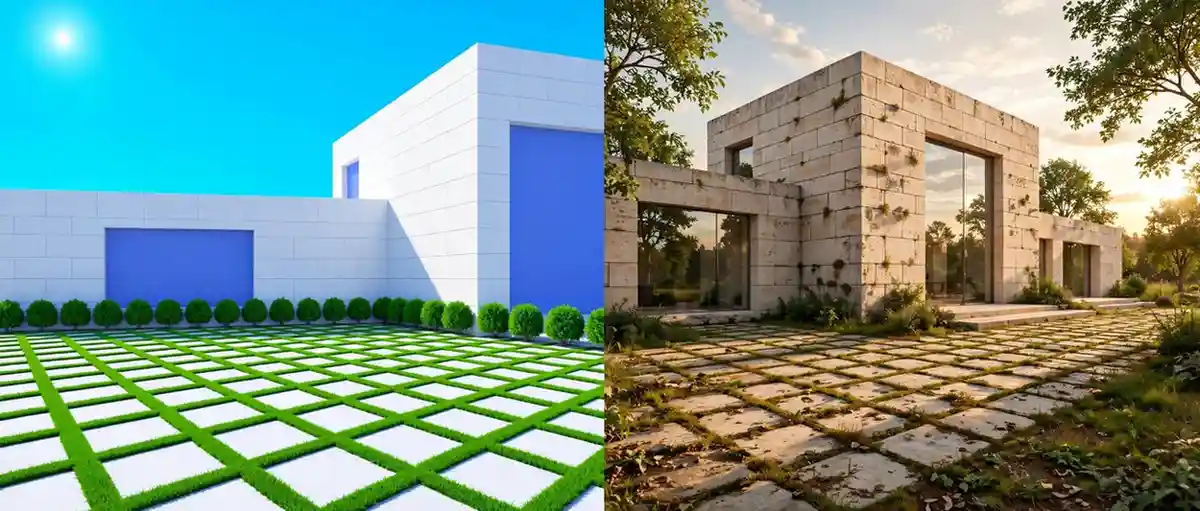
Even experienced 3D artists fall into a handful of recurring traps. Recognizing them helps clients spot weak renderings before approving them.
- Overly saturated or “video game” colors that don’t match how materials behave under real sunlight.
- Perfectly clean surfaces with no weathering, dust, or subtle imperfection, real buildings are never spotless.
- Repeated textures on large surfaces like grass or paving, creating an obvious tiling pattern.
- Mismatched shadow direction between the building, landscaping, and sky, a dead giveaway of manual compositing errors.
- Flat, evenly lit glass that doesn’t reflect the surrounding environment at all.
- Ignoring scale reference, without a car, person, or familiar object nearby, the brain has no anchor to judge realism.
Expert Tips to Push a Rendering From Good to Photorealistic

If you’re evaluating a rendering studio or briefing your in-house team, these expert-level checkpoints separate the professionals from the amateurs:
- Always request the sun study or lighting reference used for the scene, professional studios calculate this rather than eyeballing it.
- Ask whether the studio uses real HDRI skies matched to the property’s location and season.
- Check whether vegetation and entourage assets come from a varied, high-quality asset library rather than repeated stock cutouts.
- Confirm the studio applies a post-production color grading pass, not just a raw render export.
- Request a high-resolution crop of the facade detailing before final approval, this is where texture and material weaknesses show up first.
Software and Tools Used for Photorealistic Exterior House Rendering
Different tools bring different strengths to the photorealism pipeline. Here’s a quick reference table.
| Tool | Primary Use | Photorealism Strength |
|---|---|---|
| V-Ray | Rendering engine | Industry standard for physically accurate GI and materials |
| Corona Renderer | Rendering engine | Known for intuitive, realistic light behavior with minimal tweaking |
| Lumion | Real-time rendering | Fast iteration with strong built-in environment libraries |
| 3ds Max / SketchUp | 3D modeling | Base geometry and scene construction |
| Substance Painter | Texturing | High-fidelity PBR material creation |
| Photoshop | Post-production | Final color grading, compositing, and retouching |
How to Evaluate a 3D Exterior House Rendering Company’s Photorealism

Not every studio that claims “photorealistic” delivers on it. If you’re vetting vendors, it’s worth reading our detailed guide on how to choose a 3D exterior house rendering company, which walks through portfolio red flags, turnaround expectations, and pricing benchmarks. It also helps to understand the fundamentals first, our primer on what 3D exterior house rendering actually involves is a useful starting point if you’re new to commissioning renders.
According to the American Institute of Architects, visualization accuracy has become a growing consideration in client presentations and approval workflows, reinforcing why technical precision in rendering isn’t just an aesthetic preference but a professional necessity. Similarly, resources from Autodesk’s rendering documentation outline how physically based rendering engines are now the baseline expectation across the architectural visualization industry, not an optional upgrade.
Frequently Asked Questions
What makes a photorealistic exterior House rendering different from a 3D render?
Every 3D render is technically an image generated by rendering software, but “photorealistic” specifically means the image achieves accurate light physics, material behavior, and camera optics to the point that it’s difficult to distinguish from a real photograph.
How long does it take to produce a photorealistic exterior rendering?
Turnaround typically ranges from 3 to 7 business days per view, depending on scene complexity, the number of revisions, and whether custom assets (landscaping, unique materials) need to be built from scratch.
Does photorealism cost significantly more than a standard rendering?
Generally, yes, because photorealistic renders require more render time, higher-resolution textures, and a dedicated post-production pass. However, the marketing and sales value they generate typically outweighs the cost difference for most projects.
Can a photorealistic rendering be used for construction permits?
While the visual layer is built for presentation, the underlying 3D model can often be adapted for permitting or planning submissions, provided it’s built to accurate architectural scale from the start.
What file formats are used for photorealistic exterior renderings?
Final deliverables are usually high-resolution JPEG or PNG files for marketing use, while source files (3ds Max, SketchUp, or Blender project files) are retained by the studio for revisions.
Conclusion

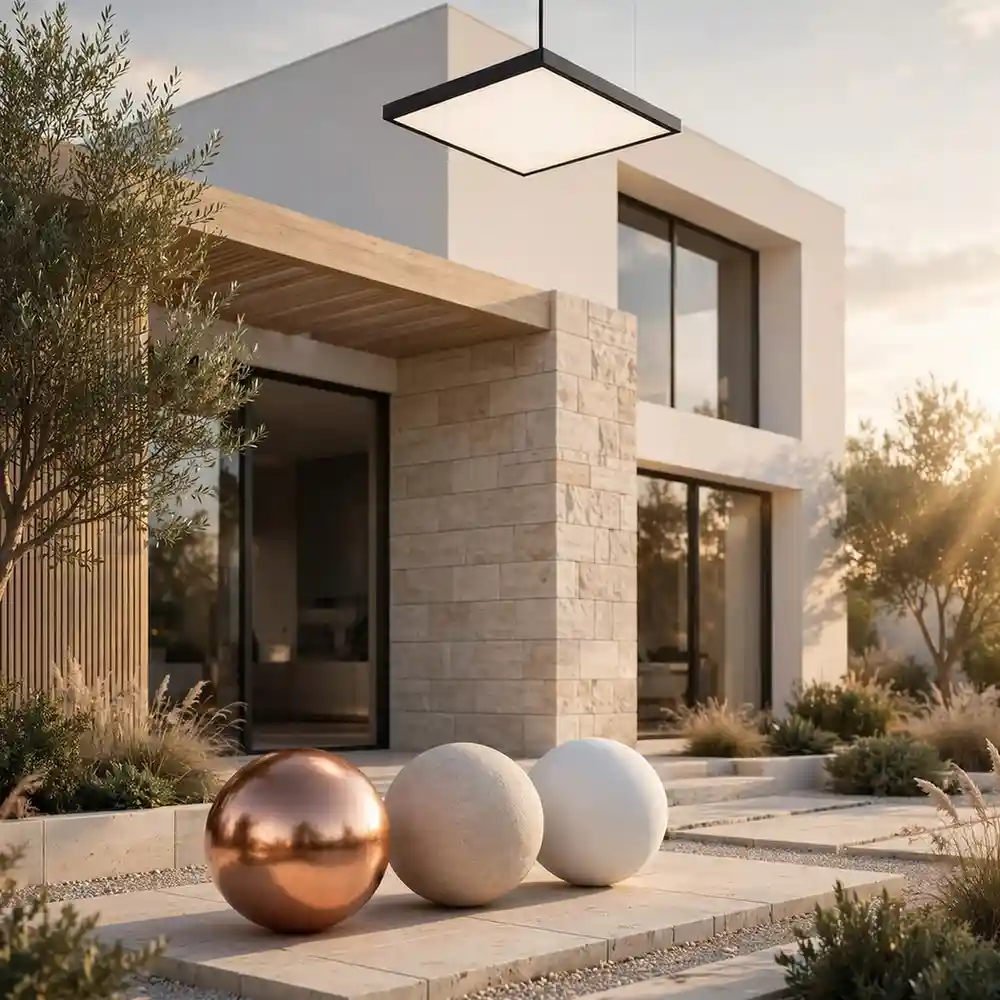
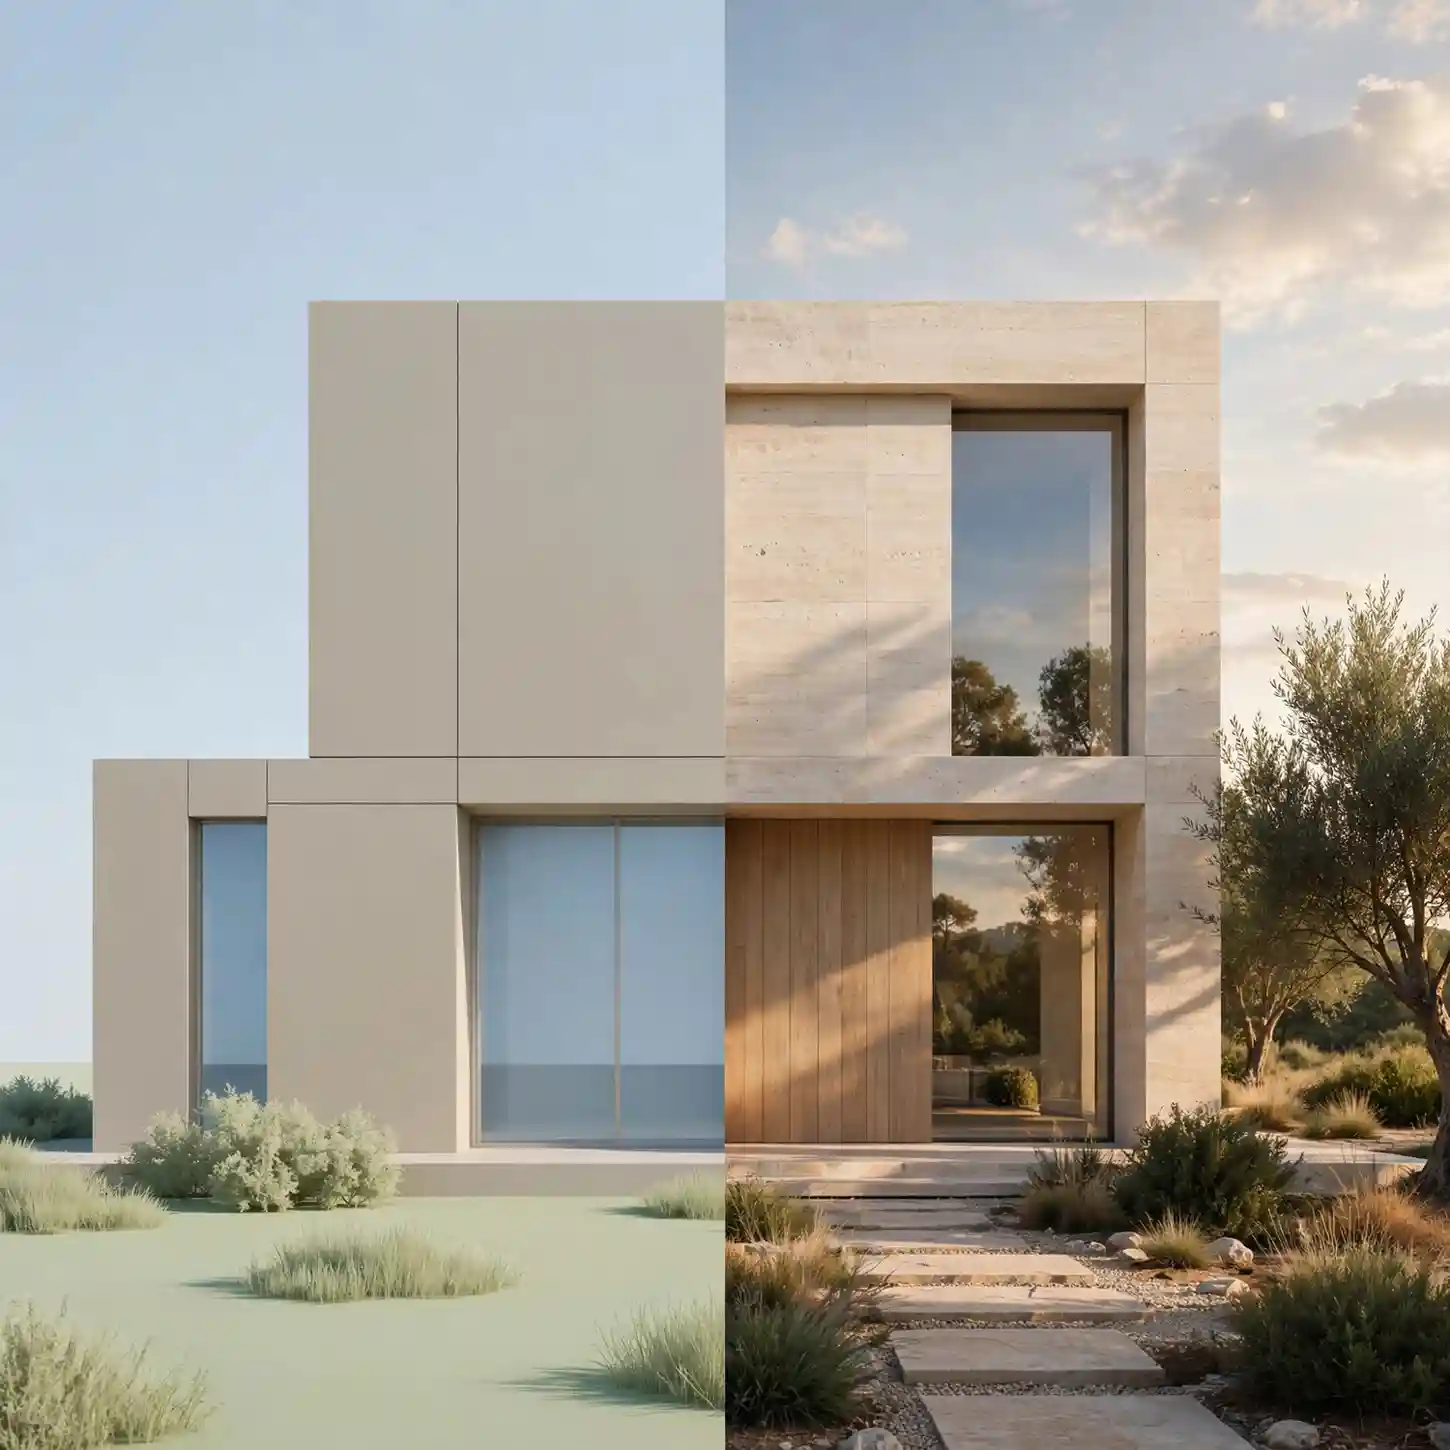
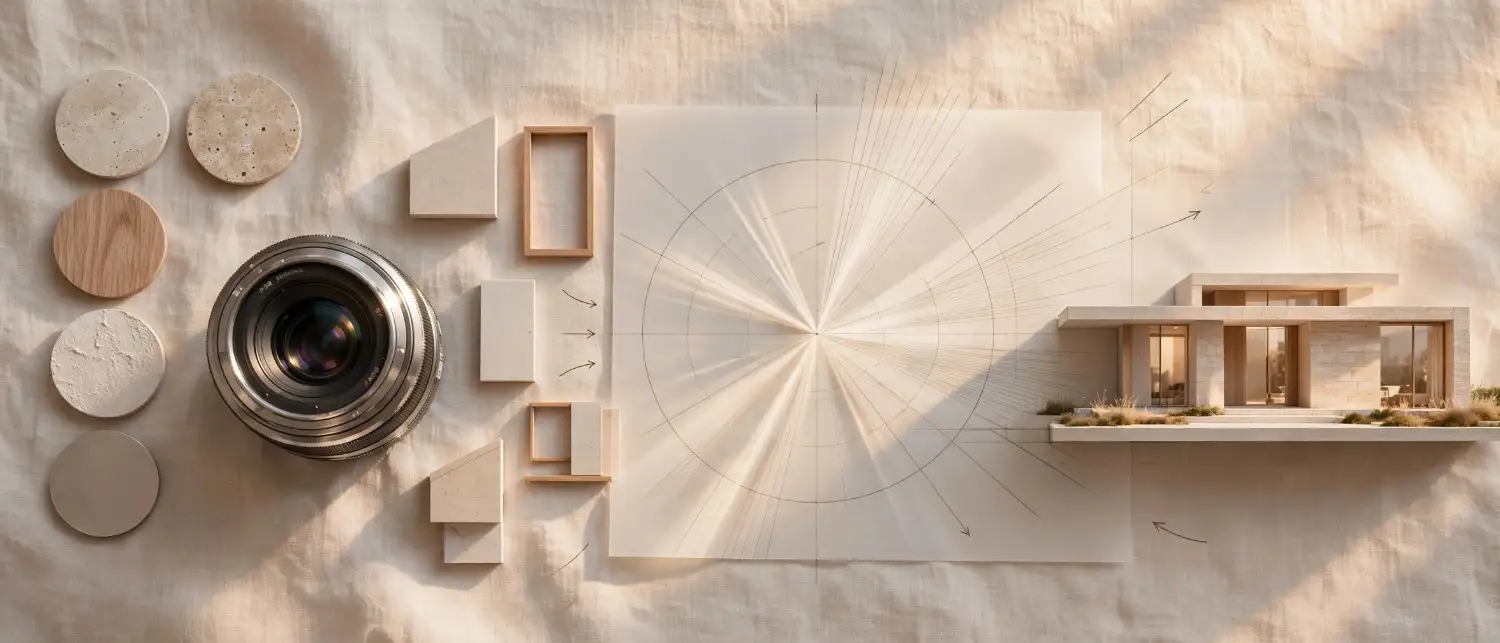
At the end of the day, what makes a photorealistic exterior rendering isn’t a single trick or plugin, it’s the disciplined combination of accurate lighting, true PBR materials, correct camera optics, and a proper post-production pass, all executed together rather than in isolation. A good rendering might catch the eye for a moment; a photorealistic one holds up under scrutiny, on a billboard, in a brochure, or zoomed in on a buyer’s phone.
If you’re ready to see this technical process applied to your own project, and find out exactly how your property would look through a photorealistic lens.