
Commercial building 3D exterior rendering is the process of converting CAD, BIM, and site data into photorealistic, physically based visuals of office parks, retail centers, and mixed-use developments before construction begins. It relies on PBR materials, HDRI lighting, accurate massing, and contextual site modeling to show façades, signage, landscaping, and circulation exactly as they will appear on completion. Developers, architects, and leasing teams use these visuals to secure approvals, attract tenants, and raise capital months before the first foundation is poured.

If you are planning a commercial project, the right visuals can shape decisions faster than any spreadsheet. A strong rendering partner supports your sales, leasing, and planning goals with photorealistic 3D exterior visualization services built for large-scale commercial work. Below, you will learn how each property type benefits, how the workflow runs, what it costs, and which mistakes to avoid.
Quick Answer: What You Need to Know About Commercial Exterior Rendering
Before the deep dive, here is a fast summary you can scan:
- What it is: A photorealistic digital image or animation of a commercial building exterior created before construction.
- Who uses it: Developers, architects, brokers, investors, city planners, and retail leasing teams.
- Main benefits: Faster approvals, earlier pre-leasing, fewer design changes, and stronger investor presentations.
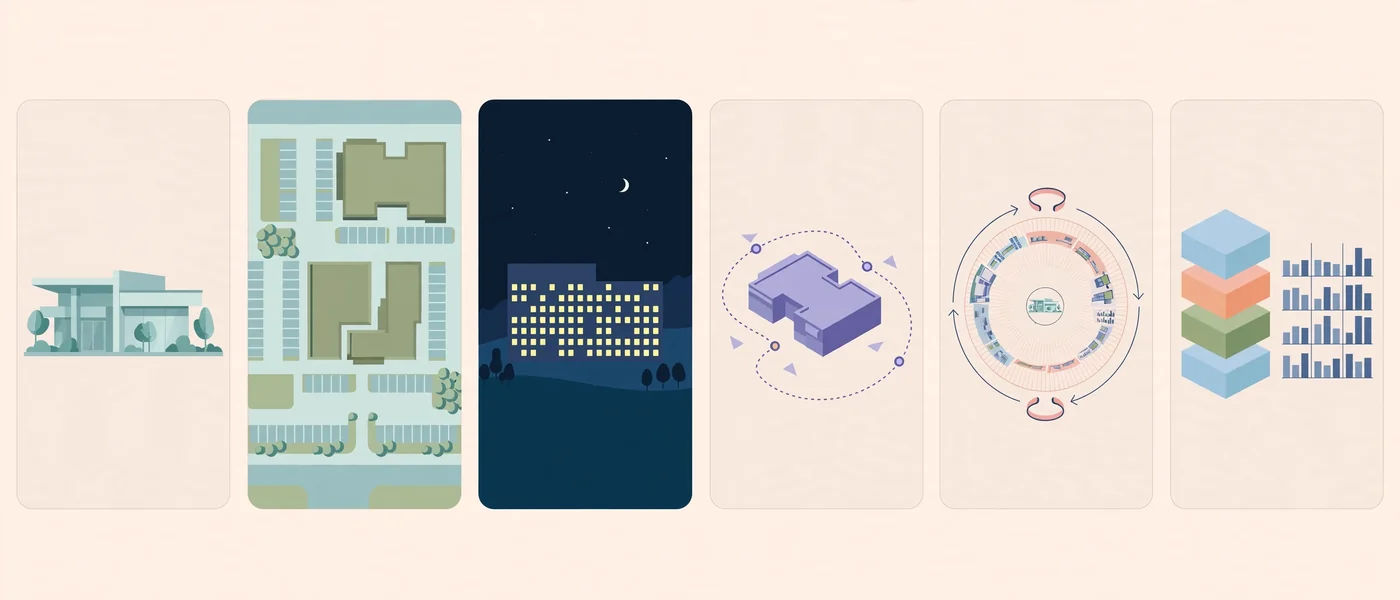
- Typical deliverables: Hero stills, aerial views, night scenes, walkthrough animations, and VR-ready scenes.
- Typical timeline: Roughly one to four weeks, depending on scope and revision rounds.
- Best time to commission: During schematic design, then again when materials are finalized.
What is Commercial Building 3D Exterior Rendering?
Commercial building 3D exterior rendering is a visualization method that builds a digital model of a non-residential structure and renders it with realistic light, materials, and surroundings. The result looks like a photograph of a building that does not exist yet.

Unlike a basic residential visual, a commercial project involves far more variables. Consider what a single image must communicate:
- Building scale and massing against neighboring structures
- Façade systems such as curtain wall, brick, metal panel, and precast
- Storefront rhythm, signage, and awnings
- Parking, loading zones, and pedestrian paths
- Landscaping, plazas, and public amenities
- Lighting conditions at different times of day
If you are new to the topic, this overview of what 3D exterior rendering actually involves explains the core concepts that also apply at commercial scale. However, commercial work adds site complexity, phasing, and branding requirements that residential projects rarely face.
Why Commercial Projects Need 3D Exterior Rendering
Commercial real estate involves large budgets and many decision-makers. As a result, misunderstandings are expensive. Visuals reduce that risk because everyone sees the same thing.
Here are the most important reasons teams invest in rendering:
- Faster approvals: Planning boards respond better to clear visuals than to technical drawings alone.
- Earlier pre-leasing: Brokers can show prospective tenants a realistic view of the finished property.
- Better investor confidence: Lenders and partners understand the product faster.
- Fewer design revisions: Stakeholders catch problems on screen, not on site.
- Stronger branding: Visuals establish the project identity long before opening day.
In addition, the American Institute of Architects (AIA) highlights the importance of clear communication between design teams and clients throughout the project lifecycle. You can explore their resources on the AIA professional practice site. Rendering supports that communication by making design intent visible.
3D Exterior Rendering for Office Parks
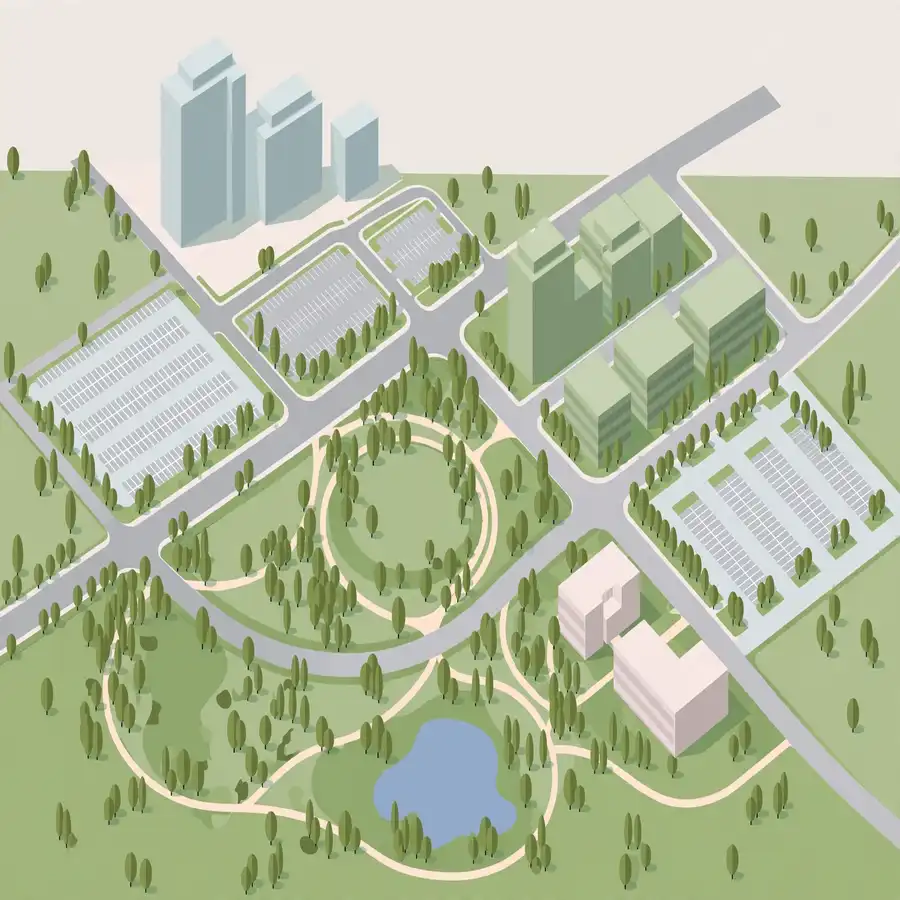
Office parks combine multiple buildings, shared parking, outdoor amenities, and campus-style landscaping. Therefore, commercial building 3D exterior rendering for office parks must show relationships between structures, not only individual façades.
Showing the Campus Master Plan
A strong office park rendering usually begins with an aerial view. It shows how buildings, roads, parking, and green space fit together.
Key elements to include:
- Building footprints and heights
- Internal road network and entry points
- Parking ratios and visitor access
- Walking trails and outdoor gathering areas
- Connections to nearby highways or transit
Highlighting Tenant Amenities
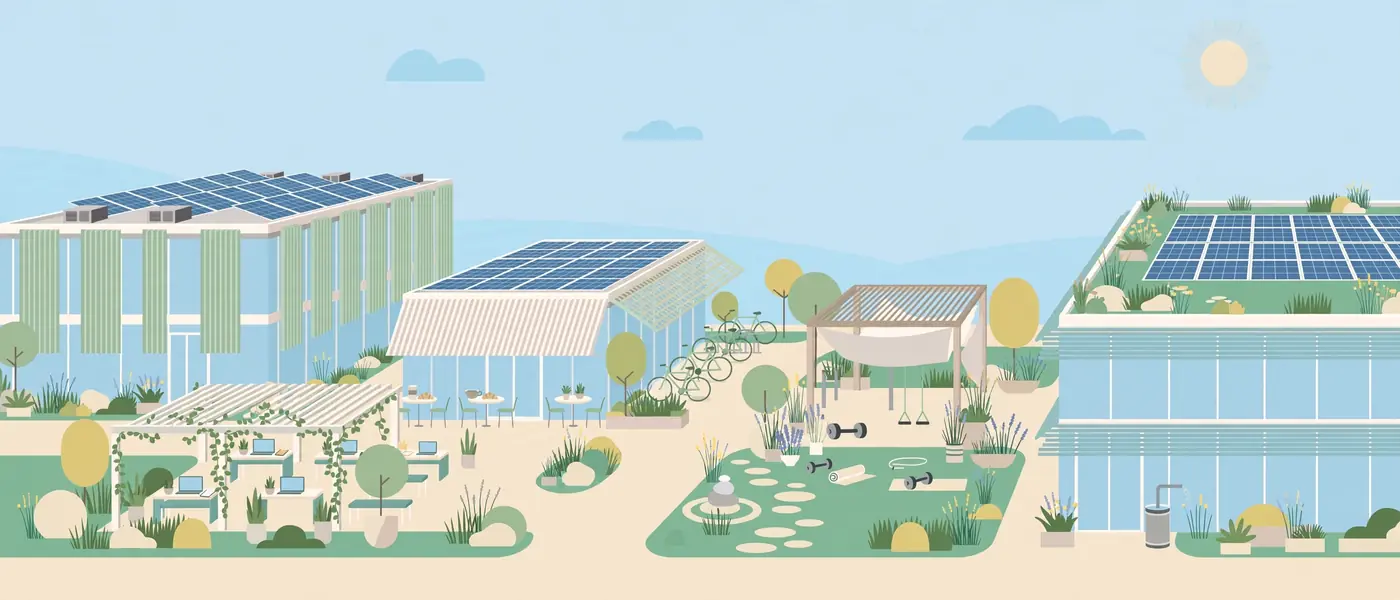
Modern tenants want more than desks. They want outdoor workspaces, cafés, fitness areas, and wellness features. Consequently, your visuals should place these amenities in the foreground.
For example, a rendering that shows employees using a landscaped courtyard communicates lifestyle value. A plain building shot cannot do that.
Daylight, Glazing, and Sustainability Cues
Glass façades dominate many office parks. Accurate glazing reflections, solar shading, and daylight behavior matter because tenants care about comfort and energy performance.
If your project pursues green certification, visuals can also reflect those goals through rooftop solar, native planting, and stormwater features. The U.S. Green Building Council explains certification pathways on its LEED rating system page. Showing sustainable features in renderings helps leasing teams explain them to prospective tenants.
3D Exterior Rendering for Retail Centers
Retail centers live or die by visibility, foot traffic, and first impressions. For this reason, commercial building 3D exterior rendering for retail projects focuses on storefront appeal and customer experience.
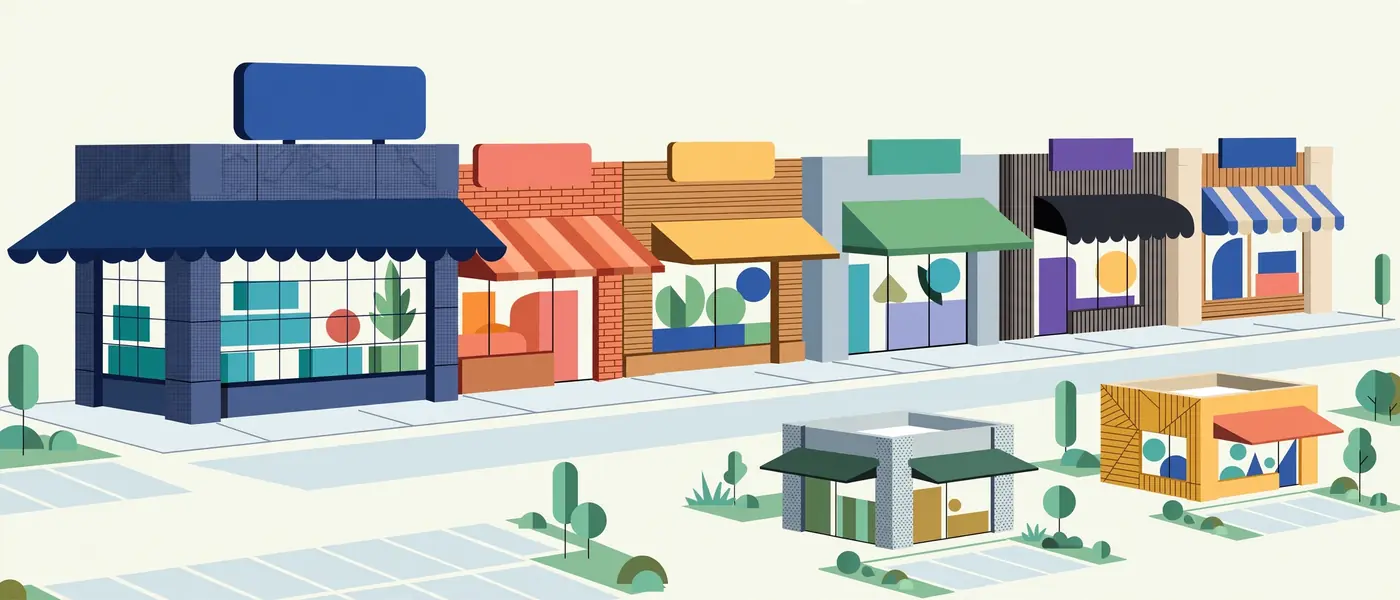
Storefront Rhythm and Signage
Retail façades must balance consistency with tenant individuality. A good rendering shows how anchor tenants, in-line shops, and pad sites work together.
Pay close attention to:
- Signage placement and sizing
- Awnings, canopies, and covered walkways
- Material variation between tenant spaces
- Window displays and entrance clarity
- Brand color integration
Signage deserves special care. Tenants often judge a retail rendering by how well their logo appears. Therefore, agree on sign standards early to avoid late revisions.
Day and Night Scenes
Retail centers operate after dark. Evening renderings show glowing signage, warm storefront lighting, and active outdoor dining. As a result, night scenes often become the most persuasive marketing images in the entire set.
Plan for at least two time-of-day versions:
- Daytime hero view: Shows materials, landscaping, and shopper activity.
- Dusk or night view: Shows ambiance, lighting design, and safety.
Parking, Circulation, and Customer Flow
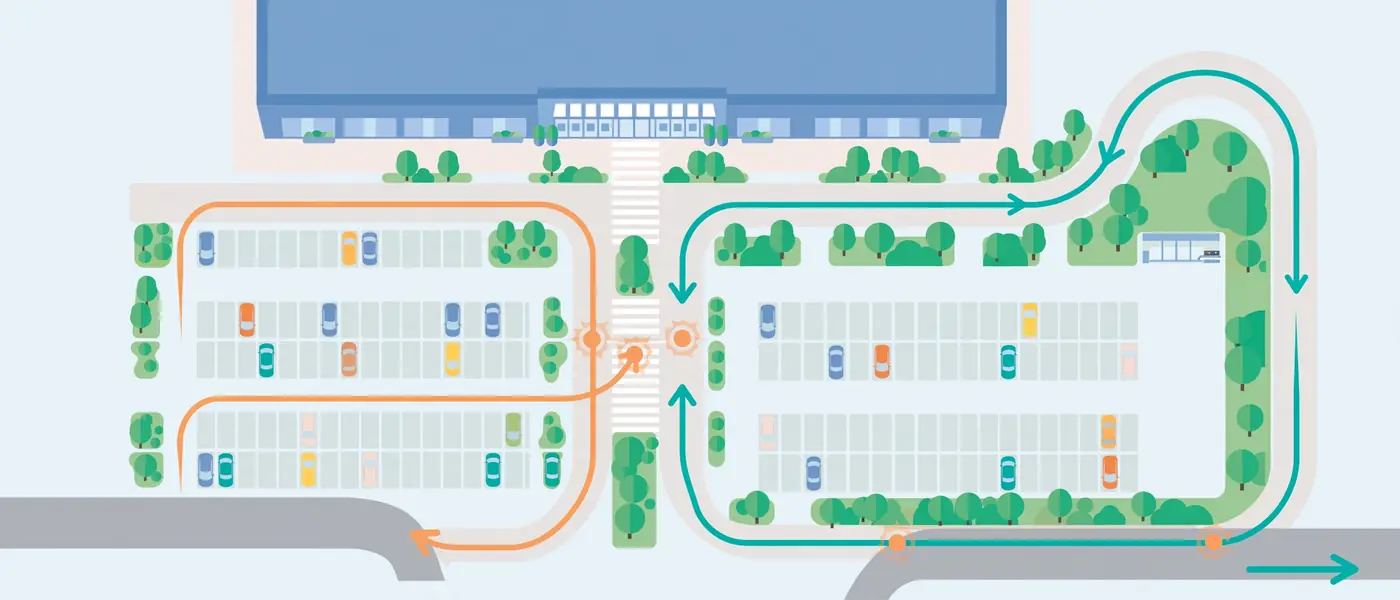
Shoppers care about how easily they can arrive and park. Rendering the parking layout, pedestrian crossings, and drive-through lanes helps city reviewers and tenants alike. Moreover, it exposes traffic conflicts before they become costly field changes.
The International Council of Shopping Centers (ICSC) publishes research on retail design and consumer behavior. Their industry resources are useful when you build a visual strategy around shopper experience.
3D Exterior Rendering for Mixed-Use Projects
Mixed-use developments combine retail, office, residential, hospitality, and public space in one place. Because they are so complex, they benefit most from commercial building 3D exterior rendering.
Communicating Massing and Podium Design
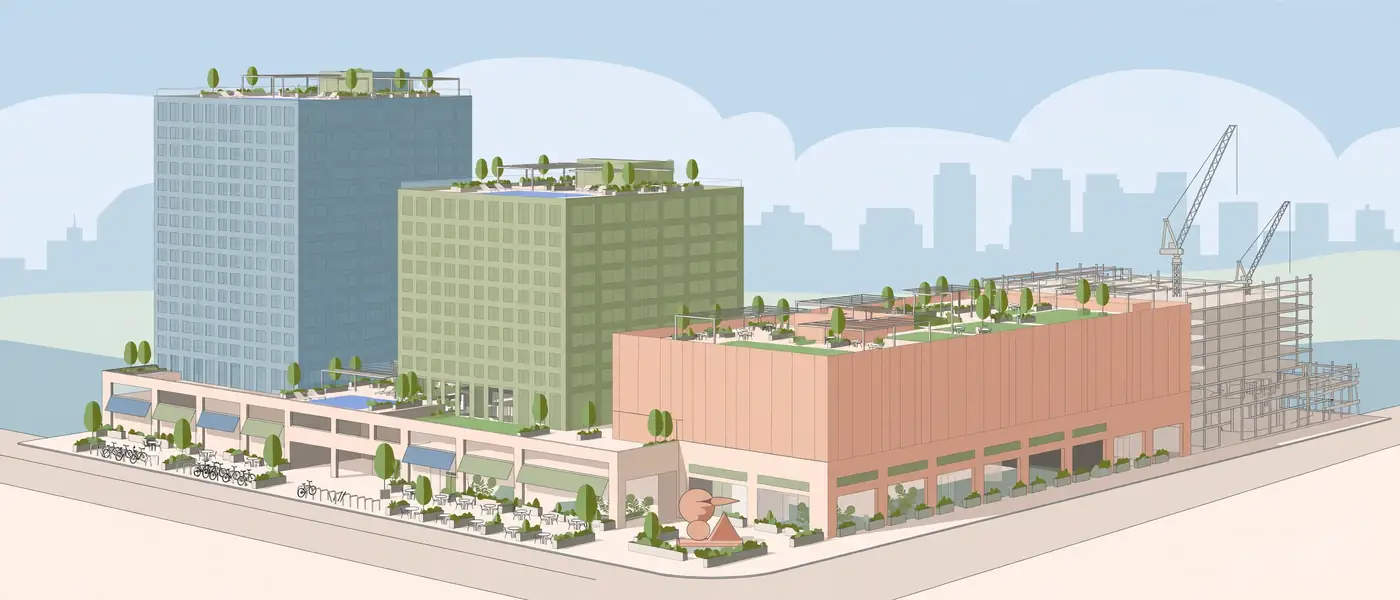
Mixed-use projects often include a podium with active ground-floor uses and towers above. Renderings must clearly show how these layers connect.
Useful views include:
- Street-level pedestrian perspectives
- Corner views that reveal podium and tower relationships
- Rooftop amenity decks
- Skyline context shots

Activating the Street Level
Ground-floor energy makes or breaks a mixed-use district. Visuals should show people walking, dining, and gathering. Specifically, depict outdoor seating, planters, bike racks, and public art so reviewers understand the intended atmosphere.
Showing Phased Development
Large mixed-use projects usually build in phases. Rendering each phase separately helps lenders, tenants, and city officials understand what will exist at each milestone.
For instance, you might produce:
- Phase 1: Anchor retail and structured parking.
- Phase 2: Office tower and public plaza.
- Phase 3: Residential buildings and final landscaping.
Industry research on mixed-use development and placemaking also helps teams align visual storytelling with market trends.
Comparison: Office Parks vs. Retail Centers vs. Mixed-Use Projects
Each property type has different visual priorities. Use this table to plan your render set.
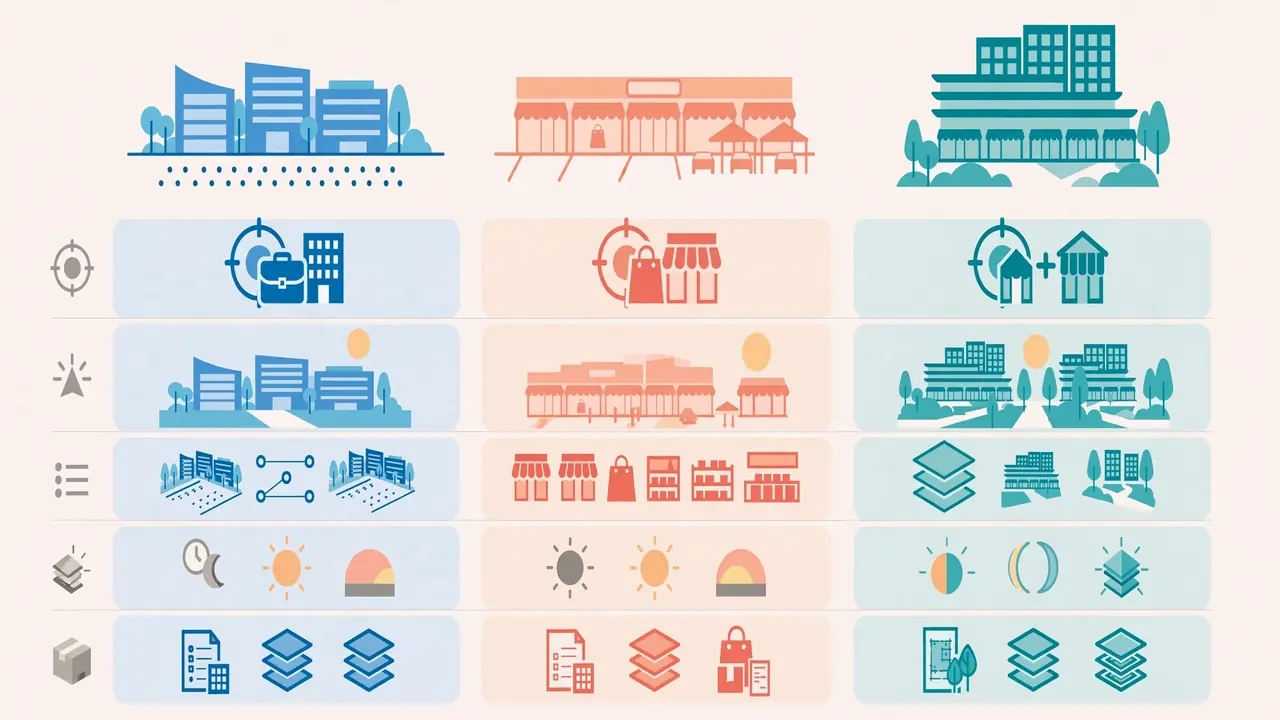
| Factor | Office Parks | Retail Centers | Mixed-Use Projects |
|---|---|---|---|
| Primary Goal | Attract corporate tenants | Drive shopper visits and lease signing | Communicate a complete district |
| Hero View | Aerial campus view | Storefront at dusk | Street-level plaza view |
| Key Details | Glazing, amenities, landscaping | Signage, awnings, parking | Podium, towers, public space |
| Best Time of Day | Golden hour | Dusk and night | Multiple times of day |
| Typical Deliverables | Aerials, entry views, amenity views | Day and night stills, signage views | Aerials, street views, phasing views |
| Common Complexity | Multi-building coordination | Tenant branding changes | Phasing and scale |
Types of Commercial 3D Exterior Renderings
Not every project needs every format. Choose based on audience and budget.
| Rendering Type | Best For | Strength | Consideration |
|---|---|---|---|
| Still Hero Image | Brochures, websites, signage boards | High detail, fast turnaround | Single viewpoint |
| Aerial View | Master plans, planning boards | Shows site context | Needs accurate site data |
| Night Scene | Retail and hospitality | Emotional impact | Requires lighting design |
| Walkthrough Animation | Investor and city presentations | Shows movement and scale | Higher cost and time |
| 360-Degree or VR Scene | Tenant tours and sales centers | Immersive experience | Needs optimized models |
| Phasing Diagram Render | Large developments | Explains build sequence | Requires several scenes |
Step-by-Step: How a Commercial 3D Exterior Rendering Project Works

A clear workflow protects your schedule and budget. Here is the process most professional studios follow:
- Discovery and brief: Share goals, audience, and deadlines. Define the number of views and the style.
- Data collection: Provide CAD drawings, BIM files, elevations, site plans, material schedules, and reference photos.
- 3D modeling: The artist builds the building, site, and surrounding context.
- Material and texture setup: Real-world finishes are applied so surfaces behave correctly under light.
- Camera and lighting setup: The team selects angles and time of day, then builds the lighting.
- Draft review: You receive low-resolution drafts to check composition and massing.
- Refinement: Feedback is applied, including landscaping, people, vehicles, and signage.
- Final render and post-production: High-resolution images are rendered and color-graded.
- Delivery: You receive final files in formats suited to print, web, and presentation use.
Most delays happen at steps 2 and 6. Missing data or slow feedback can add days to the schedule. Consequently, assign one decision-maker on your side to consolidate comments.
What to Prepare Before You Brief a Rendering Studio
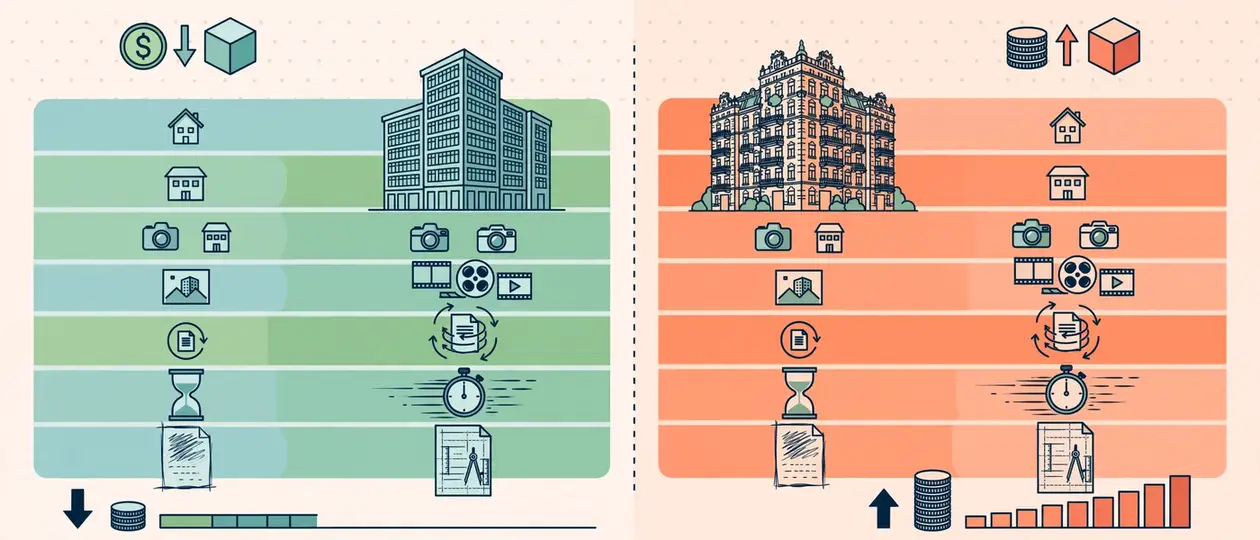
Good input produces good output. Gather these items before you start:
- Architectural drawings: Plans, elevations, sections, and details in DWG or PDF format.
- 3D models: Revit, SketchUp, or Rhino files if available.
- Site information: Survey, topography, and neighboring building heights.
- Material specifications: Brand names, color codes, and finish samples.
- Landscape plans: Planting schedules and hardscape layouts.
- Branding assets: Logos, sign standards, and color palettes.
- Reference images: Examples of mood, lighting, and composition you like.
- Usage plan: Where the images will appear, such as print boards, websites, or investor decks.
Providing this package upfront prevents rework. In addition, it helps the studio quote accurately.
Materials, Textures, and Lighting: What Makes Commercial Renders Look Real
Realism comes from physical accuracy. A glass façade that does not reflect correctly looks fake instantly. Likewise, flat brick without depth looks like a sticker.

Material Accuracy
Commercial exteriors use varied materials, including:
- Glass curtain wall and storefront glazing
- Aluminum and composite metal panels
- Brick, stone veneer, and precast concrete
- Stucco and EIFS systems
- Wood cladding and soffits
Each material needs correct reflectivity, roughness, and scale. Our guide to texture mapping in exterior rendering explains how detailed maps create believable surfaces. Poor mapping causes visible tiling, which weakens the entire image.
Lighting and Atmosphere
Lighting sets the emotional tone. Golden-hour light flatters office campuses. Blue-hour dusk makes retail glow. Overcast conditions suit technical reviews where accuracy matters more than drama.
For a deeper technical look at what separates convincing images from average ones, read this breakdown of photorealistic exterior rendering. Although it focuses on residential work, the principles of light, material, and camera behavior apply directly to commercial projects.
Context and Entourage
People, vehicles, trees, and street furniture give scale. However, overusing them hides the architecture. Aim for natural placement that supports the story without distracting from the building.
Software and Technology Behind Commercial Visualization

Studios combine several tools to produce commercial work efficiently. A typical pipeline includes:
- Modeling: 3ds Max, Revit, SketchUp, or Rhino
- Rendering engines: V-Ray, Corona, Lumion, Twinmotion, or Unreal Engine
- Post-production: Adobe Photoshop and similar editing tools
- Animation and VR: Real-time engines for interactive output
Each tool has strengths. Offline engines such as V-Ray and Corona deliver maximum still-image quality. Real-time engines such as Unreal Engine and Twinmotion support fast iteration and interactive walkthroughs.
If you want a closer comparison, this guide to software used in exterior rendering breaks down the main options and when to use them.
How Much Does Commercial 3D Exterior Rendering Cost?
Pricing varies widely, so no single number fits every project. Instead, understand what drives cost. The table below summarizes the main factors.
| Cost Factor | Lower Cost Scenario | Higher Cost Scenario |
|---|---|---|
| Building Size | Single small building | Multi-building campus or district |
| Level of Detail | Basic massing and materials | Detailed façade, signage, and landscaping |
| Number of Views | One or two stills | Multiple stills, aerials, and night scenes |
| Deliverable Type | Still images only | Animation, VR, or interactive scenes |
| Revision Rounds | One or two rounds | Several rounds with many stakeholders |
| Turnaround | Standard schedule | Rush delivery |
| Input Quality | Complete BIM and specifications | Sketches and incomplete drawings |
To control budget, lock the design before final rendering. Late changes force artists to rebuild scenes. In contrast, early approvals keep the schedule stable.
Common Mistakes in Commercial Building 3D Exterior Rendering
Avoid these frequent errors:
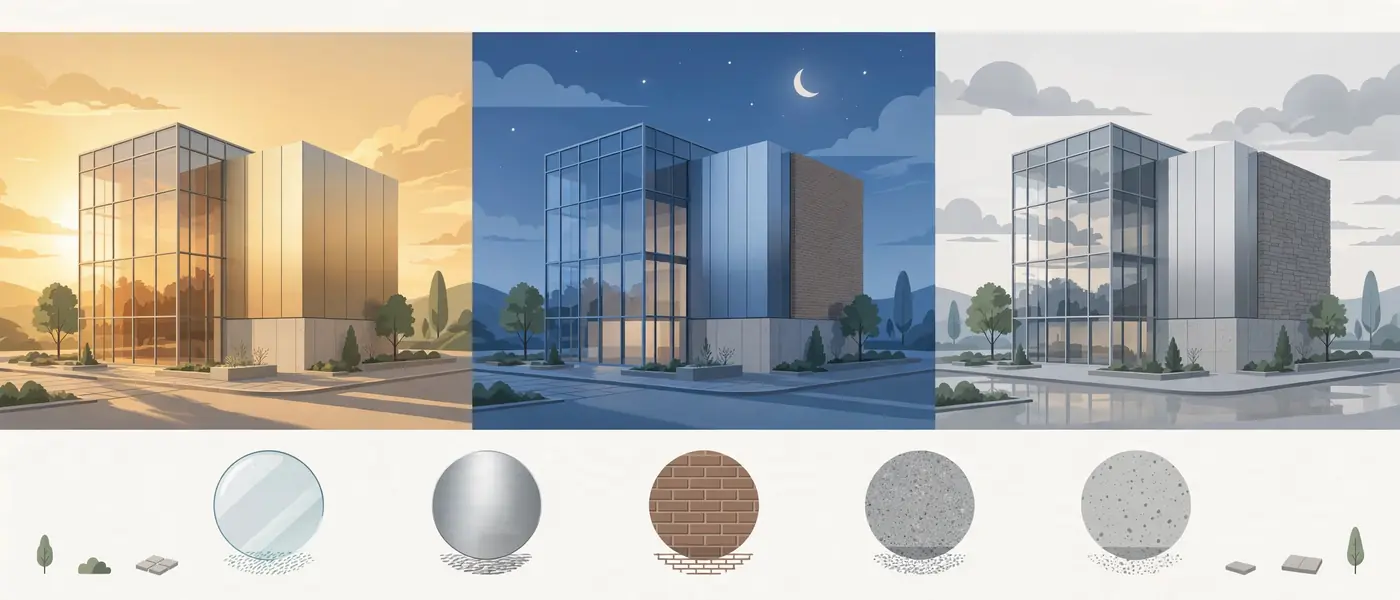
- Briefing too late: Waiting until design is final removes the chance to use visuals for early decisions.
- Providing incomplete data: Missing elevations or material notes lead to guesswork and revisions.
- Ignoring site context: Neighboring buildings and roads change how a project looks and feels.
- Over-polishing the wrong view: A beautiful image of a hidden façade does not help leasing.
- Skipping night scenes for retail: Many retail centers look best after dark.
- Using too many reviewers: Conflicting feedback slows production and adds cost.
- Choosing on price alone: Low-quality renders can damage credibility with lenders and tenants.
- Forgetting usage rights: Confirm file formats, resolution, and licensing before final delivery.
- Unrealistic scale cues: Oversized people or cars distort perception and reduce trust.
Expert Tips for Better Commercial Exterior Renderings
These practical insights come from standard visualization practice on commercial work:
- Start with the audience. A planning board needs accuracy. A leasing broker needs emotion. Brief the studio on who will see the image first.
- Pick hero views early. Decide which two or three images will carry the campaign, then invest more detail there.
- Show real life. Include shoppers, workers, and residents using the space naturally.
- Match season and climate. Use landscaping that fits the project location and growing zone.
- Keep materials consistent. Use the same finish names across drawings, specifications, and renderings.
- Plan for updates. Ask for organized source files so tenant changes can be applied quickly.
- Use a consistent visual style. Matching camera height, lighting, and color grade across the full set builds a premium brand look.
How Architects and Developers Use Renderings in Practice
Different professionals use the same images in different ways.
Architects use renderings to explain design intent and win client approval. They rely on visuals to shorten feedback loops and reduce misunderstandings.
Developers use renderings for entitlement hearings, pre-leasing, and financing packages.
Brokers use them in brochures, websites, and signage to promote space before completion.
City planners review them to assess scale, character, and community impact.
Because one image set can serve all these groups, a well-planned rendering package delivers strong value across the entire project timeline.
Using Renderings for Approvals and Community Review
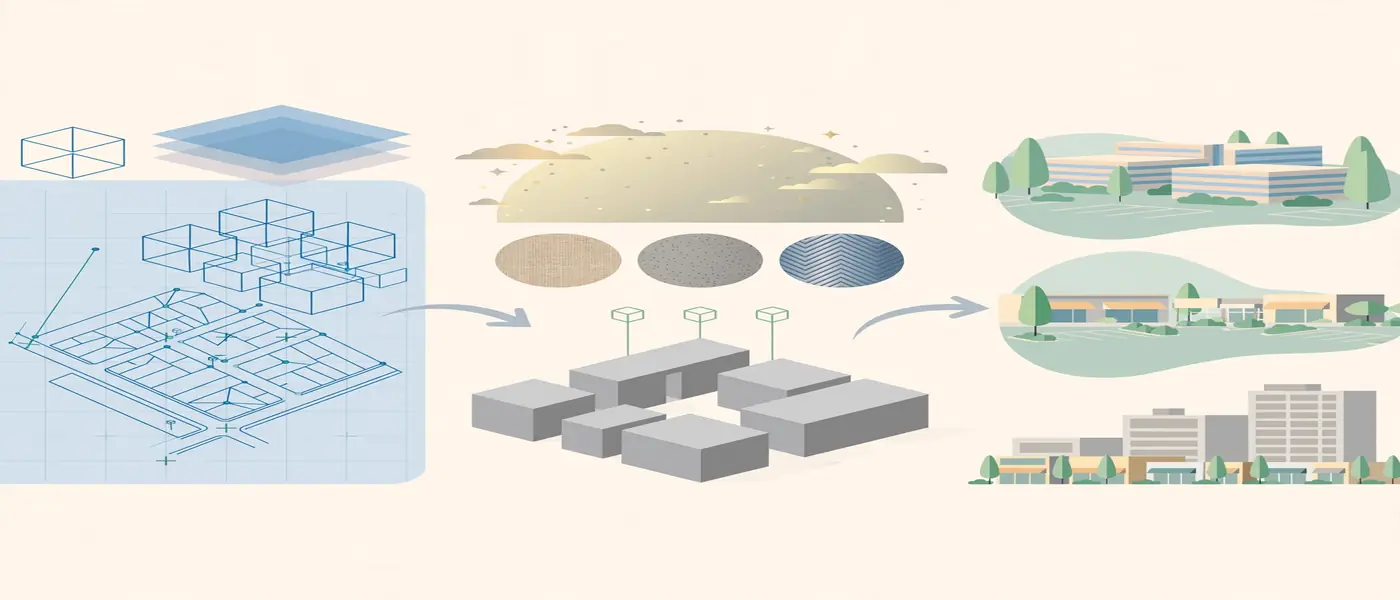
Planning approval often decides whether a project moves forward. Visuals play a larger role here than many teams expect, because most reviewers are not trained to read drawings.
Prepare a focused approval set that answers the questions reviewers ask most often:
- How tall is it? Provide pedestrian-level and skyline views that show true height.
- How will it look from the street? Show the façade from the closest public sidewalk.
- What happens to traffic? Illustrate entrances, turning lanes, and loading areas.
- Does it fit the neighborhood? Place the building beside existing structures.
- What about trees and open space? Show mature landscaping, plus a realistic planting stage.
In addition, label each view with its camera position and lens assumptions. This transparency builds trust with reviewers. It also protects your team if someone questions whether an image is misleading.
Accuracy, Honesty, and Trust in Commercial Visuals
Persuasive visuals must still be truthful. If a rendering overstates daylight, hides a utility structure, or shrinks a parking lot, it creates risk. Lenders, tenants, and city officials will notice the gap once construction ends.
Follow these practices to keep every image credible:
- Model from approved drawings: Never rely on early sketches for final marketing images.
- Show mature landscaping honestly: Include a note when trees will take years to grow.
- Keep signage compliant: Use sizes and positions that match local sign codes.
- Include required elements: Show mechanical equipment, transformers, and loading docks where they sit.
- Document the assumptions: Keep a short record of camera heights, materials, and sun angles.
Accurate visuals also protect your brand. A building that matches its renderings earns referrals. A building that disappoints invites complaints.
Managing Revisions Without Losing Schedule or Budget
Revision rounds can drain time, especially on large commercial projects with many reviewers. Therefore, build a simple feedback process before the first draft arrives.
- Appoint one decision-maker: This person merges comments from the architect, developer, and leasing team.
- Group feedback by priority: Separate must-fix items from preferences.
- Mark up drafts visually: Annotated images communicate more clearly than long emails.
- Freeze major design changes: Lock massing and materials before final rendering starts.
- Confirm approvals in writing: A short email prevents later disputes about what was agreed.
When teams follow this approach, final delivery usually stays on schedule. Moreover, studios can focus their effort on quality instead of chasing conflicting comments.
How to Choose the Right Commercial Rendering Partner
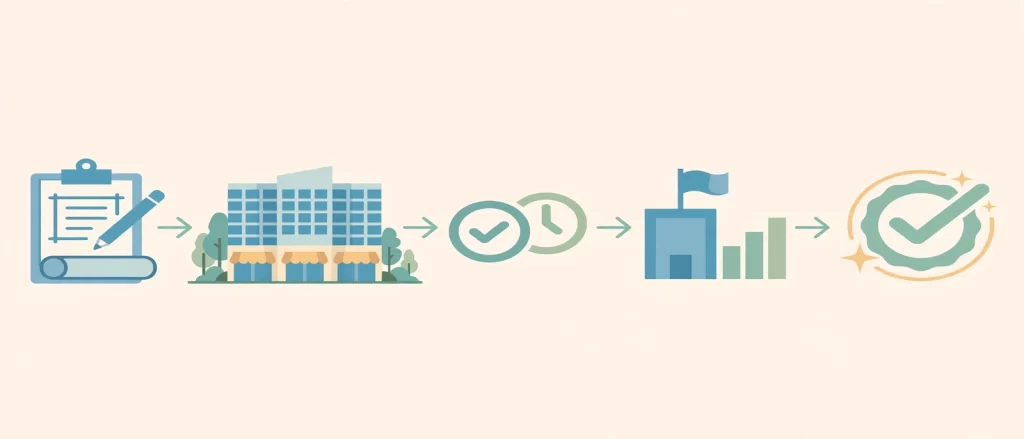
Selecting a studio is a business decision. Evaluate candidates with a clear checklist:
- Commercial portfolio: Look for office, retail, and mixed-use examples, not only houses.
- Technical depth: Ask about BIM coordination, material accuracy, and lighting methods.
- Scalability: Confirm that the team can handle multi-building campuses.
- Communication: Look for clear milestones, draft reviews, and responsive support.
- Revision policy: Understand how many rounds are included.
- Turnaround reliability: Ask for realistic schedules and past delivery performance.
- Clear licensing: Confirm usage rights for marketing and legal presentations.
For a more detailed checklist, review this guide on choosing a 3D exterior rendering company. It walks through the questions worth asking before you sign.
Measuring the Business Impact of Commercial Renderings
Visuals should support measurable outcomes. Since search and discovery are shifting toward answers and conversions, treat renderings as sales tools, not decoration.
Track results such as:
- Lead volume: Inquiries from landing pages that feature the images
- Pre-leasing progress: Letters of intent and signed leases tied to marketing campaigns
- Approval speed: Time taken to pass design review or entitlement hearings
- Engagement: Time on page, downloads, and social shares for renderings
- Change-order reduction: Fewer design revisions after construction starts
Review these metrics after each campaign. Over time, you will learn which views, formats, and styles produce the strongest response.
Frequently Asked Questions About Commercial Building 3D Exterior Rendering
What is commercial building 3D exterior rendering?
Commercial building 3D exterior rendering is the creation of photorealistic digital images or animations of non-residential buildings before construction. It uses CAD or BIM data, realistic materials, and accurate lighting to show how an office park, retail center, or mixed-use project will look when complete.
How long does a commercial 3D exterior rendering take?
Most projects take about one to four weeks. Timing depends on building size, the number of views, data quality, and revision rounds. Complex multi-building campuses and animations take longer than a single still image.
What files do I need to start a commercial rendering project?
Provide plans, elevations, and sections in CAD or PDF format. Add BIM or SketchUp models if you have them, plus site plans, material specifications, landscape drawings, and brand guidelines. More complete input leads to fewer revisions.
How many views should I order for a retail center?
Most retail centers need at least three: a daytime hero view, a dusk or night view, and an aerial or pedestrian-level view that shows parking and circulation. Add more if you need tenant-specific storefront images.
Can 3D renderings help get planning approval?
Yes. Clear visuals help planning boards and community groups understand scale, materials, and neighborhood fit. Renderings do not replace technical drawings, but they make those drawings easier to interpret.
What is the difference between a rendering and an animation?
A rendering is a still image from one viewpoint. An animation is a sequence of frames that moves through the project. Animation costs more but explains flow, scale, and experience better, especially for large mixed-use districts.
Is commercial building 3D exterior rendering worth the cost?
For most commercial projects, yes. Visuals support pre-leasing, investor presentations, and approvals. They also reduce costly design changes by exposing issues before construction. The return depends on how well you use the images in your marketing and approval strategy.
Should I use a real-time engine or an offline renderer?
Use an offline renderer such as V-Ray or Corona when you need maximum still-image quality. Use a real-time engine such as Unreal Engine when you want interactive walkthroughs, quick design iteration, or VR experiences. Many studios combine both.
Conclusion: Turn Your Commercial Design Into a Leasing-Ready Visual
Commercial building 3D exterior rendering gives office parks, retail centers, and mixed-use projects a clear voice before construction begins. It speeds approvals, supports pre-leasing, strengthens investor presentations, and reduces expensive design changes. Most importantly, it lets every stakeholder see the same vision.
To get the best results, prepare complete data, choose hero views early, plan day and night scenes, and select a studio with real commercial experience. Then measure outcomes so each project improves the next.
Ready to move forward? Get your commercial project visualized before groundbreaking and give your tenants, investors, and planning boards a view they can trust.